how to guides
How to do a pedicure at home
This page contains affiliate links, which means we may earn a small amount of money if a reader clicks through and makes a purchase. All our articles and reviews are written independently by the Netmums editorial team.
Sandal weather is officially here and your feet are probably crying out for a pedicure!
Not everyone has the time and budget to have it done professionally, especially after booking a holiday or paying for holiday childcare.
It's even more challenging for busy mums, as sloping off to a salon for a pampering session is often out of the question.
Luckily, there are so many products that can help you to get the perfect DIY pedicure.
So, be your own nail technician and get perfect results in just 10 steps:
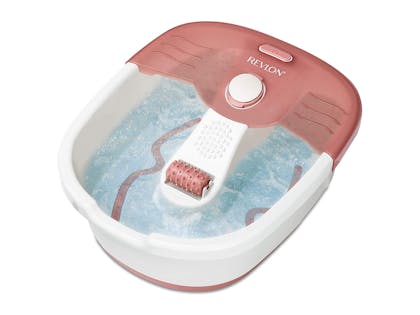
1. Soak your feet
Revlon Pedicure Tub, £28.75
Fill a bowl with warm water and soak your feet for about 15 minutes.
This is the perfect time for you to sit and relax, catch up on your favourite book or scroll through your phone (just make sure your little one are in bed or being looked after so you don't have to worry).
To make the experience more pampering and spa-like, add a few drops of tea tree oil (it has bacteria-fighting qualities) or Epsom salts (great for relieving aching and tired feet).
You can even add a few slices of lemon as they will soften your cuticles and any calluses.
This Revlon tub is a great buy for those who want a really pampering experience. This set comes with a complete pedicure kit including a nail cleaner, two cuticle pushers, a pair of cuticle scissors, two toe separators and an emery board. The magical tub will keep the water warm and bubbly which will awaken and relieve tired feet. Last but DEFINITELY not least, the massage rollers will rejuvenate and relax.
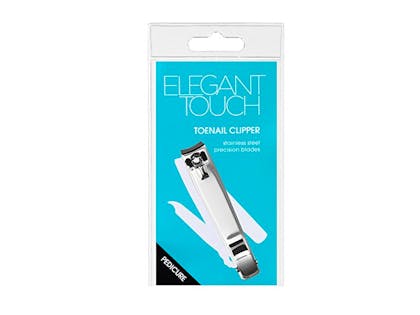
2. Cut your toenails
Elegant Touch Toe Nail Clipper, £2.56
After a nice, relaxing soak, gently pat your feet dry with a towel (make sure to have it next to you so you don't drip water everywhere). Wait for five to seven minutes before cutting your nails, as they'll soften in the water and need to be totally dry and hard before being cut. Go for the length you prefer, just make sure it's neither too long nor too short, as otherwise it can be painful while walking or exercising.
These clippers from Elegant Touch are suitable for even the hardest nails as they're REALLY sharp. They're also extremely comfortable to hold and use. There's even a little metal file included, which will be useful. The slight curve on the cutting edge helps to create a lovely shape, too.
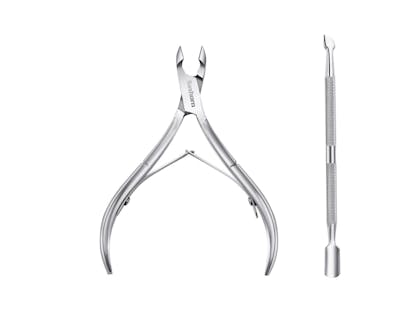
3. Get rid of dry cuticles
Nail Nipper and Cuticle Pusher set, £3.99
This step is the trickiest, but getting rid of dry cuticles creates a good base for varnish and makes nails look healthier and pampered. Before starting to push your cuticles back, use a remover gel. This will soften and help in pushing back and eventually removing dry cuticles.
This convenient, sturdy set will help you smoothen out your cuticle area and elongate the nail. Made from stainless steel, it's rust-proof and is built to last. Use the nail pusher to scrape off any excess dry skin and then use the nipper to remove it. Using a nipper might seem scary at first, so make sure to make tiny, careful movements.
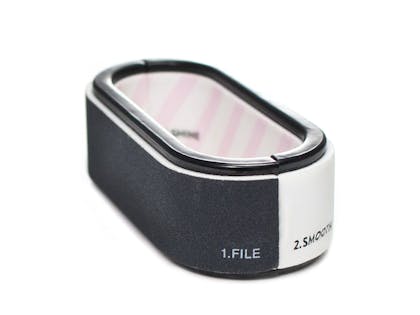
4. Shape and smoothen your nails
3-Way Nail File, Buffer and Polisher, £4.20
This is where the fun begins! So many nail shapes have become popular (stiletto shape, ballerina shape etc.), but we would recommend going for a simple square or 'squoval' for the toes. Use the file to get your preferred shape and the buffer to smooth out any ridges. If you don't have thinning nails, buff the surface of your toenails to give them an even texture (which will make the varnish look better, too)!
This smart, three-way file is all you need when it comes to nail shaping. It can be used to file, buff and polish nails to boost shine. Its ergonomic design makes it travel-friendly and gives you the perfect grip. Just slide through your toes (and fingers) to get healthier, well-shaped nails.
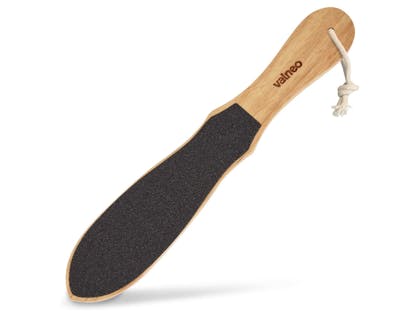
5. Get rid of any dead skin
Pedicure Foot File, £14.49
Your nails are pretty much ready for some colour now, but before you start, dedicate a few moments to getting your feet in shape, too. Dip your feet into the water once more and run a foot file in a back and forth motion over your heels, soles, and sides of your feet. Slightly run it across the back of the toes, too. This will get rid of all the dead skin and callouses and soothe your feet.
This file is double-sided, with one side coarse and the other delicate to suit your needs. It effectively removes dead skin and relieves rough and tired feet instantly. It's lightweight and very easy to grip and use, giving professional results, without breaking the bank!
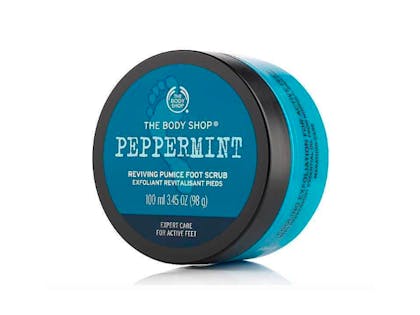
6. Scrub and moisturise your feet
Peppermint Reviving Foot Scrub, £7.50
If you have used the foot file and your feet feel smooth enough, you can skip using a scrub. But if they need a little more TLC, a foot scrub is ideal for exfoliating and getting rid of the last few bits of rough, dry skin. Make sure that you use an oil-free, easily absorbing moisturiser to avoid having slippery feet and oily residue on your nails.
This foot reviving scrub from The Body Shop will leave skin smooth and refined. It provides expert care for active, tired feet while leaving a refreshing peppermint scent behind. Use the Peppermint Intensive Cooling Foot Rescue moisturiser from the same range to replenish the skin.
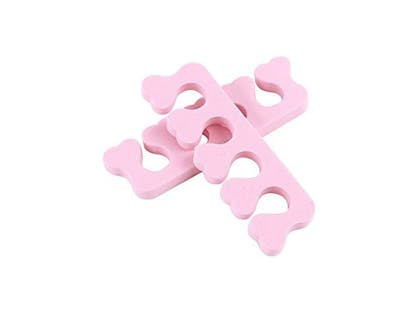
7. Use Toe Separators
Toe Separators (20-pack), £3.29
These little helpers will separate the toes and prevent from smudging. Using these will make it much easier to apply polish, and with minimal accidents!
These purse-friendly separators from Boots can be used multiple times for home pedicures. They're ideal for use when filing, buffering and applying your favourite nail varnish and help you to achieve a professional look.
8. Use a base coat
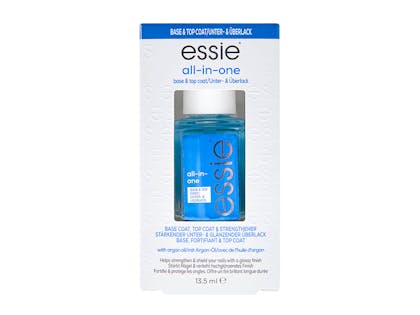
Essie All-in-one Base and Top Coat, £8.99
Don't forget to apply a base coat before adding the colour. It will help polish bond better to your nails and prevent it from chipping. Make sure that you have covered your entire nail surface to smoothen it out and prepare it for the next step.
This all-in-one base and top coat from Essie is all you need for mani-pedis at home! Your nails will be stronger and glossier as it's enriched with argan oil, which is highly nurturing. Apply before and after your nail polish for a professional and long-lasting result.
9. Time for painting!
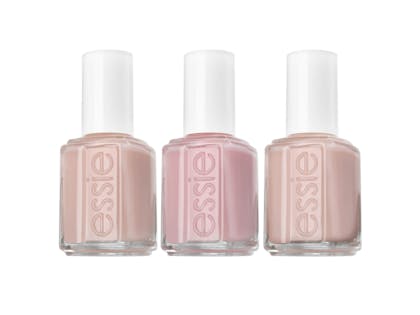
Essie Nude Nail Polish Trio Set, £19.15
Finally, the best part as you can start applying your favourite nail polish colour. Start with strokes in the middle to avoid smudging and fill in to the edges carefully. Apply two thin layers and finish off with a top coat for perfect, opaque coverage. And, don't worry if you got a little colour on your cuticles; just use a cotton bud dipped in nail polish remover to clean them up.
This lovely set of nail varnishes from Essie comes with three dreamy colours that will suit every skin tone. They are both nude, but with a twist; perfect for keeping up with the "au naturel" trend AND keeping it playful at the same time.
10. Add drying drops
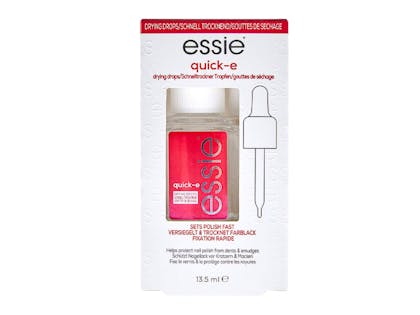
Essie Quick-e Drying Drops, £8.99
Nail polish takes more time than you think to dry completely. There's a reason why you shouldn't wear closed-in shoes directly afterwards (or for the next few hours) as it WILL smudge. Adding drops will boost the process and set the polish perfectly.
These Essie drops guarantee fast setting for your nail varnish. The formula speeds up drying time and helps protect from dents and scratches. It keeps the brightness of the colour and shine perfectly, too. It's a great trick for busy mums who just want to get on with their day post-pedicure.
Read on:
- The best ways to get rid of greasy hair
- The best multitasking makeup products for a 5-minute beauty routine
- The best beauty buys for new mums
